Blink was built to help companies to speed up a sales process. To share lead information with custom objects you can easily add them in the settings. Please follow installation steps first.
Step 1
Single lead convert
There are two ways to add buttons to page layouts:
- From the Blink Settings > Buttons
- Add Manually
Blink Settings (Lightning only)
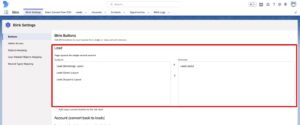
Open the Blink Settings and click Buttons. Use multi-picklist in the Lead section to select a layout for the “Blink Convert” button.
Add Manually
Add single Lead convert buttons on the page layout (Lightning or Classic depends on your user interface).
Lightning
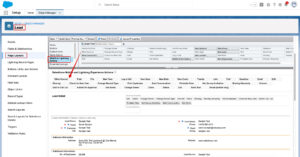
- Go to the Setup > Objects Manager > Lead
- Click “Page Layouts” in the sidebar
- Select page layout you want to edit
- In the settings section go to the “Mobile & Lightning Actions”
- Drag and drop “Blink Convert” button to the “Salesforce Mobile and Lightning Experience Actions”
- Click “Save”
Classic
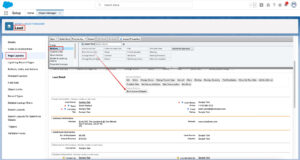
- Go to the Setup > Objects Manager > Lead
- Click “Page Layouts” in the sidebar
- Select page layout you want to edit
- In the settings section go to the “Buttons”
- Drag and drop “Blink Convert (Classic)” button to the “Lead detail > Custom Buttons”
- Click “Save”
Mass leads convert
There are two ways to add the button to the list view:
- From the Blink Settings > Buttons
- Add Manually
Blink Settings
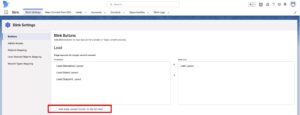
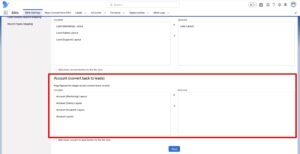
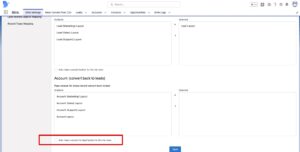
Open the Blink Settings and click Buttons. Use the checkbox “Add mass convert button to the list view” under the multi-picklist in the Lead section.
Add Manually
Add mass Lead convert buttons on the page layout.
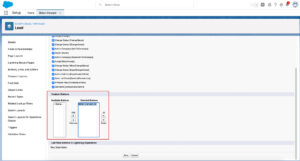
- Go to the Setup > Objects Manager > Lead
- Click “List View Button Layout” in the sidebar
- Click Edit for the “List View”
- Select “Blink Convert All” button and move it to the “Selected button”
- Click “Save”
Step 2 (Convert Account and Contact back to Lead)
Single Account Convert Back to Lead
There are two ways to add the button to the list view:
- From the Blink Settings > Buttons
- Add Manually
Blink Settings (Lightning only)
Open the Blink Settings and click Buttons. Use multi-picklist in the Account section to select a layout for the “Blink Convert to Lead” button.
Add Manually
Add “Blink Convert to Lead” button on the page layout (Lightning or Classic depends on your user interface).
Lightning
- Go to the Setup > Objects Manager > Account
- Click “Page Layouts” in the sidebar
- Select page layout you want to edit
- In the settings section go to the “Mobile & Lightning Actions”
- Drag and drop “Blink Convert to Lead” button to the “Salesforce Mobile and Lightning Experience Actions”
- Click “Save”
Classic
- Go to the Setup > Objects Manager > Account
- Click “Page Layouts” in the sidebar
- Select page layout you want to edit
- In the settings section go to the “Buttons”
- Drag and drop “Blink Convert to Lead (Classic)” button to the “Account detail > Custom Buttons”
- Click “Save”
Mass Convert Lead Back to Account
There are two ways to add buttons to the list view:
- From the Blink Settings > Buttons
- Add Manually
Blink Settings
Open the Blink Settings and click Buttons. Use the checkbox “Add mass convert button to the list view” under the multi-picklist in the Account section.
Add Manually
- Go to the Setup > Objects Manager > Account
- Click “List View Button Layout” in the sidebar
- Click Edit for the “List View”
- Select “Blink Convert All” button and move it to the “Selected button”
- Click “Save”

